The number of sites on the Internet is constantly growing. Today it is not enough to have a website attract the user’s attention. The sites have also become more complex and use more techniques to attract and hold the user’s attention. One of these techniques can be 3D graphics. The scene with interactive elements can help not only attract the attention of the user but also greatly increase the time he stays on your site or web application. Let’s check an example of the creation 3D scene for the React app using BabylonJS.
Introduction
Before diving into the technical details of implementing a 3d scene in your application, I would like to briefly define what is meant by a 3d scene and what they can be useful for.
A 3D scene is a virtual space available for viewing from any angle. It provides a realistic immersive experience in that space. Adding a 3D scene to your app can increase user engagement, provide new ways to interact with content, and create stunning visuals.
There are many tools for developing 3D graphics on the web. Today I suggest paying attention to the open-source project BabylonJS. It is a powerful and flexible framework that provides a wide range of tools to create complex 3D scenes.
It is also supposed to implement the 3d scene in the React project. To use declarative syntax I suggest using react-babylonjs.
Initial setup
To use BabylonJS in the React application, you will need to install some dependencies:
npm install babylonjs react-babylonjsor
yarn add babylonjs react-babylonjsAfter installing these dependencies, you can start using BabylonJS in your React application.
The next step is a creation of a basic 3D scene:
import { Vector3, Color3 } from 'babylonjs';
import { Scene, Engine, ArcRotateCamera, HemisphericLight, Box, StandardMaterial } from 'react-babylonjs';

const App = () => {
    return (
        <Engine antialias adaptToDeviceRatio canvasId="babylon-js-canvas">
            <Scene>
                <ArcRotateCamera
                    name="camera"
                    alpha={Math.PI / 2}
                    beta={Math.PI / 4}
                    radius={10}
                    target={Vector3.Zero()}
                />
                <HemisphericLight
                    name="light1"
                    intensity={0.7}
                    direction={new Vector3(0, 1, 0)}
                />
                <Box name="box" size={2}>
                    <StandardMaterial
                        name="mat"
                        diffuseColor={new Color3(1, 0, 0)}
                    />
                </Box>
            </Scene>
        </Engine>
    );
};

export default App;
As a result you will see a simple scene with a camera, a light, and a red box:
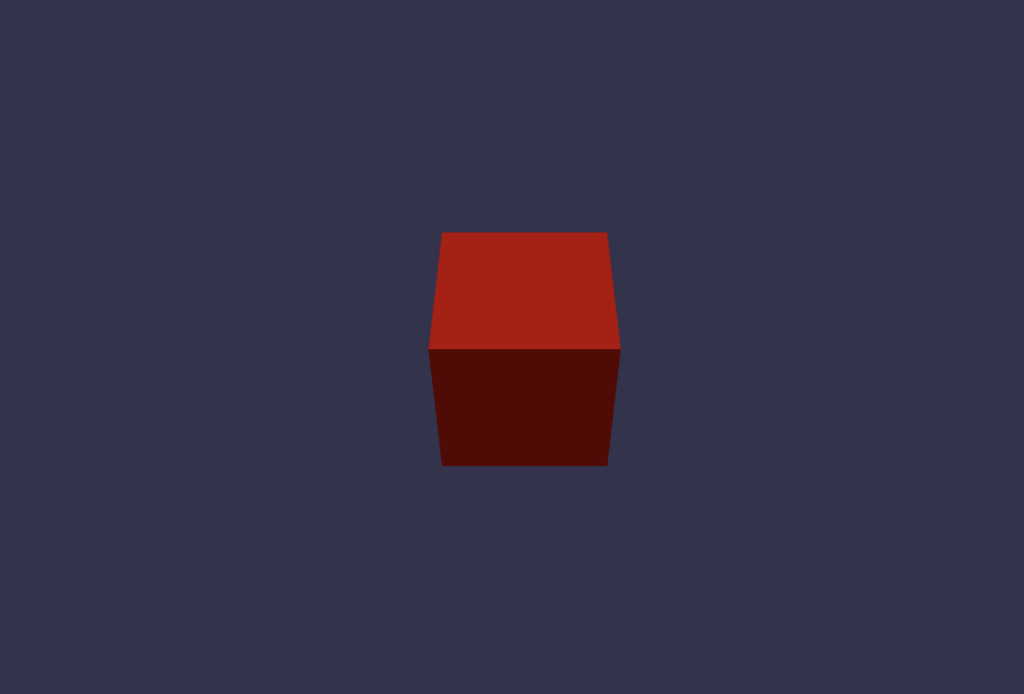
The code snippet above creates The Engine component that creates a BabylonJS engine, while the Scene component creates a scene. The ArcRotateCamera component creates a camera that can be rotated around a target position. The HemisphericLight component creates a light source, while the box component creates a 3D box object. The StandardMaterial component sets the material of the box to a red color.
Creating 3D objects with BabylonJS
Now that we have created a scene we can start creating and manipulating 3D objects.
BabylonJS provides a wide range of 3D object types: meshes, lights, cameras, etc. You can use the appropriate component to create a 3D object in BabylonJS and set its properties as needed.
For the example, we add a sphere object and adjust its position, rotation, and material:
import { Vector3, Color3 } from 'babylonjs';
import { Scene, Engine, ArcRotateCamera, HemisphericLight, Sphere, StandardMaterial } from 'react-babylonjs';

const App = () => {
    return (
        <Engine antialias adaptToDeviceRatio canvasId="babylon-js-canvas">
            <Scene>
                <ArcRotateCamera
                    name="camera"
                    target={Vector3.Zero()}
                    alpha={-Math.PI / 2}
                    beta={Math.PI / 4}
                    radius={5}
                />
                <HemisphericLight
                    name="light1"
                    intensity={0.7}
                    direction={new Vector3(0, 1, 0)}
                />
                <Sphere
                    name="sphere"
                    diameter={2}
                    segments={32}>
                    <StandardMaterial
                        name="mat"
                        diffuseColor={new Color3(1, 1, 0)}
                    />
                </Sphere>
            </Scene>
        </Engine>
    );
};

export default App;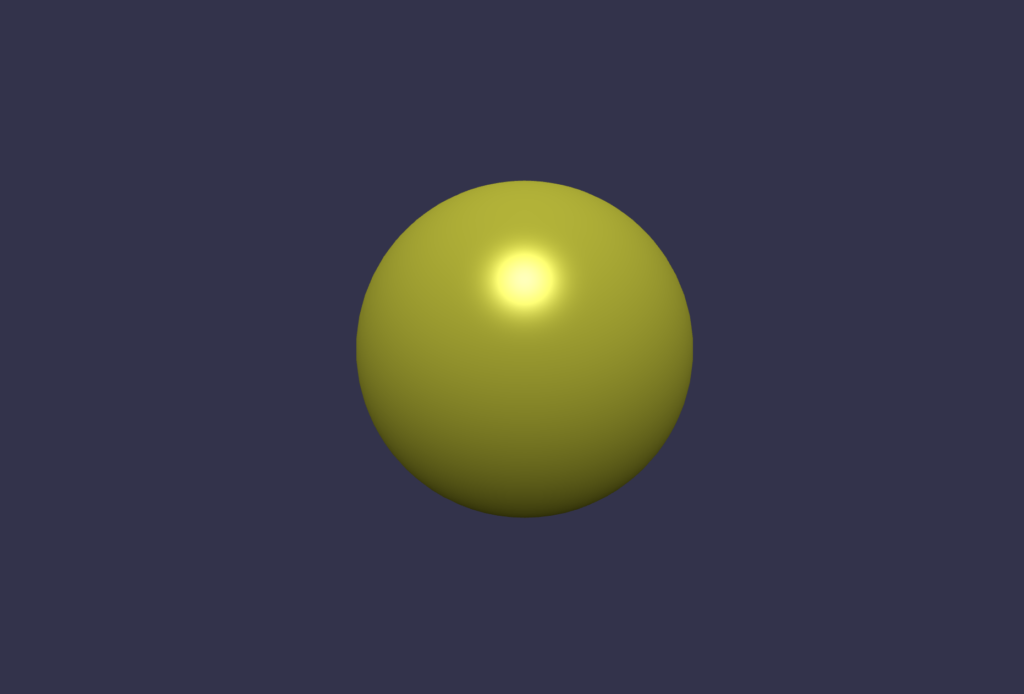
This part of the code adds a 3d sphere to the scene. The diameter prop sets the sphere’s size, and the segments prop sets the number of segments used to create the sphere’s surface. The StandardMaterial component sets the sphere’s material and makes it yellow with the diffuseColor property.
BabylonJS also provides the ability to manipulate 3D objects on stage by changing their position, rotation, and scaling. For example, let’s move the sphere we just created:
import React, { useRef, useEffect } from 'react';
import * as BABYLON from 'babylonjs';
import { Scene, Engine, ArcRotateCamera, HemisphericLight, Sphere, StandardMaterial } from 'react-babylonjs';

const App = () => {
    const sphereRef = useRef(null);

    useEffect(() => {
        let angle = 0;
        const radius = 5;
        const speed = 0.01; // Speed of rotation

        const interval = setInterval(() => {
            if (sphereRef.current) {
                angle += speed;
                sphereRef.current.position.x = radius * Math.cos(angle);
                sphereRef.current.position.z = radius * Math.sin(angle);
            }
        }, 16); // approximately 60 frames per second

        return () => clearInterval(interval); // Clear interval on component unmount
    }, []);

    return (
        <Engine antialias adaptToDeviceRatio canvasId="babylon-js-canvas">
            <Scene>
                <ArcRotateCamera
                    name="camera"
                    target={BABYLON.Vector3.Zero()}
                    alpha={-Math.PI / 2}
                    beta={Math.PI / 4}
                    radius={10} // Increase camera radius to see the entire orbit
                />
                <HemisphericLight
                    name="light1"
                    intensity={0.7}
                    direction={new BABYLON.Vector3(0, 1, 0)}
                />
                <Sphere
                    ref={sphereRef}
                    name="sphere"
                    diameter={2}
                    segments={32}>
                    <StandardMaterial
                        name="mat"
                        diffuseColor={new BABYLON.Color3(1, 1, 0)}
                    />
                </Sphere>
            </Scene>
        </Engine>
    );
};

export default App;
We use the useRef hook to access a sphere object and make it orbit around in the useEffect hook.
Adding interactivity with BabylonJS
One of the most powerful features of BabylonJS is its ability to add interactivity to 3d scenes.
The best way to add interactivity is to use an ActionManager and simple event listener.
For example, let’s make it so that when you click on the sphere, it changes its color:
import React from 'react';
import { Color3, Vector3, ActionManager, ExecuteCodeAction } from 'babylonjs';
import { Scene, Engine, ArcRotateCamera, HemisphericLight, Sphere, StandardMaterial } from 'react-babylonjs';

const colors = {
    blue: new Color3(0, 0, 1),
    yellow: new Color3(1, 1, 0),
};

const App = () => {
    const handleSphereCreated = (sphere) => {
        // Ensure the sphere is pickable
        sphere.isPickable = true;

        // Create an action manager for the sphere
        sphere.actionManager = new ActionManager(sphere.getScene());

        // Add an action to change the color on pointer down
        sphere.actionManager.registerAction(new ExecuteCodeAction(
            ActionManager.OnPickDownTrigger,
            (evt) => {
                const newColor = colors.blue.equals(evt.source.material.diffuseColor) ? 'yellow' : 'blue';
                sphere.material.diffuseColor = colors[newColor];
            }
        ));
    };

    return (
        <Engine antialias adaptToDeviceRatio canvasId="babylon-js-canvas">
            <Scene>
                <ArcRotateCamera
                    name="camera"
                    target={Vector3.Zero()}
                    alpha={-Math.PI / 2}
                    beta={Math.PI / 4}
                    radius={5}
                />
                <HemisphericLight
                    name="light1"
                    intensity={0.7}
                    direction={new Vector3(0, 1, 0)}
                />
                <Sphere
                    name="sphere"
                    diameter={2}
                    segments={32}
                    onCreated={handleSphereCreated}>
                    <StandardMaterial
                        name="mat"
                        diffuseColor={colors.blue}
                    />
                </Sphere>
            </Scene>
        </Engine>
    );
};

export default App;
When the sphere component is created in the scene, we use the onCreated callback to access the sphere object. In this callback, we set the sphere to be pickable, ensuring it can respond to user interactions. We then create an ActionsManager for the sphere and register an action with it. This action is triggered by OnPickDownTrigger, which corresponds to a mouse click. The registered action is defined to change the sphere’s material color to blue when the sphere is clicked.
Another example of adding interactivity to the 3d scene is animations. You can use the useEffect hook to set an animation loop for changing the scaling of an object in the scene:
import React from 'react';
import { Animation, Vector3, Color3 } from 'babylonjs';
import { Scene, Engine, ArcRotateCamera, HemisphericLight, Sphere, StandardMaterial } from 'react-babylonjs';

const App = () => {
    const setupAnimation = (sphere) => {
        const scene = sphere.getScene();

        // Scaling animation
        const frameRate = 30;
        const scalingAnimation = new Animation(
            "scalingAnimation",
            "scaling",
            frameRate,
            Animation.ANIMATIONTYPE_VECTOR3,
            Animation.ANIMATIONLOOPMODE_CYCLE
        );

        const keys = [];
        keys.push({ frame: 0, value: new Vector3(1, 1, 1) }); // Original scale
        keys.push({ frame: frameRate / 2, value: new Vector3(1.5, 1.5, 1.5) }); // Increased scale
        keys.push({ frame: frameRate, value: new Vector3(1, 1, 1) }); // Original scale
        scalingAnimation.setKeys(keys);

        sphere.animations = [scalingAnimation];
        scene.beginAnimation(sphere, 0, frameRate, true, 0.5);
    };

    return (
        <Engine antialias adaptToDeviceRatio canvasId="babylon-js-canvas">
            <Scene>
                <ArcRotateCamera
                    name="camera"
                    target={Vector3.Zero()}
                    alpha={-Math.PI / 2}
                    beta={Math.PI / 4}
                    radius={5}
                />
                <HemisphericLight
                    name="light1"
                    intensity={0.7}
                    direction={new Vector3(0, 1, 0)}
                />
                <Sphere
                    name="sphere"
                    diameter={2}
                    segments={32}
                    onCreated={setupAnimation}>
                    <StandardMaterial
                        name="mat"
                        diffuseColor={new Color3(1, 1, 0)} // Yellow color
                    />
                </Sphere>
            </Scene>
        </Engine>
    );
};

export default App;

In this example, we set up an animation loop using the beginAnimation method from the BabylonJS scene object.
The animation will update the sphere’s scaling from its original point to its ending position for 30 frames and then loop back to the beginning.
How to use Custom models with BabylonJS
In addition to using pre-built objects from BabylonJS, this framework also allows you to import any other 3D objects and use them in your scene.
To do this, you need to:
1. Find the GLB file of the 3d model you need. You can either create it yourself or find ready-to-use models online.
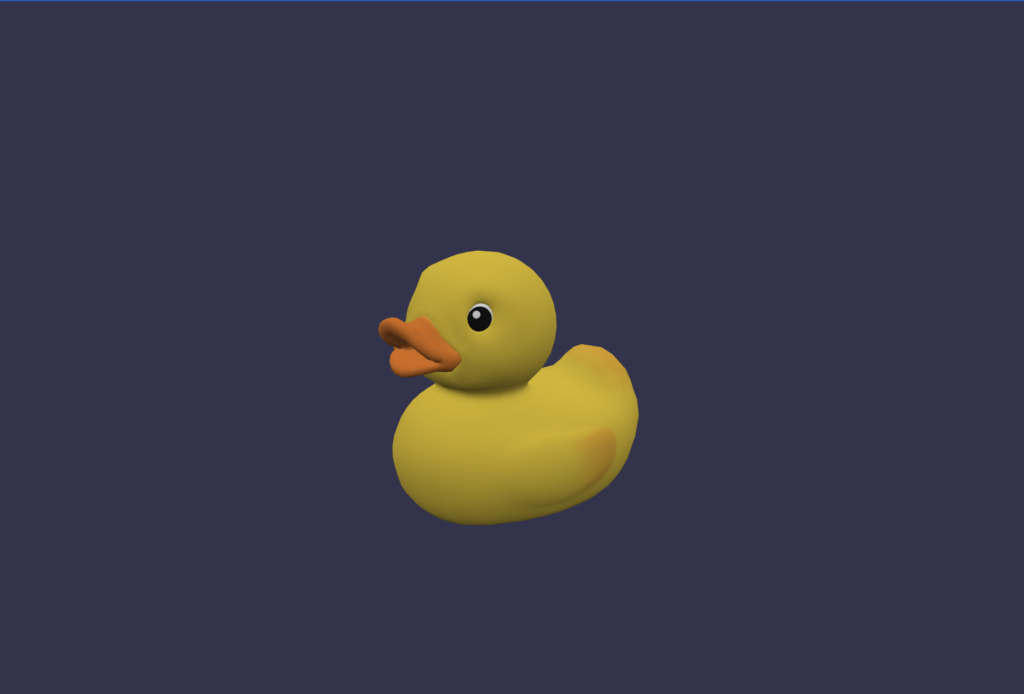
2. After that you can load the file on your 3d scene using the Model component from react-babylonjs:
import React, { Suspense } from 'react';
import '@babylonjs/loaders';
import { Vector3 } from 'babylonjs';
import { Engine, Scene, ArcRotateCamera, HemisphericLight, Model } from 'react-babylonjs';

const App = () => (
	<Engine antialias adaptToDeviceRatio canvasId="babylon-js-canvas">
		<Scene>
			<ArcRotateCamera
				name="camera"
				target={new Vector3(0, 1, 0)}
				alpha={-Math.PI / 2}
				beta={Math.PI / 4}
				radius={5}
			/>
			<HemisphericLight
				name="light1"
				intensity={0.7}
				direction={new Vector3(0, 1, 0)}
			/>
			<Suspense fallback="Loading...">
				<Model
					rootUrl="/"
					sceneFilename="Duck.glb"
					position={new Vector3(0, 0, 0)}
					scale={new Vector3(1, 1, 1)}
				/>
			</Suspense>
		</Scene>
	</Engine>
);

export default App;
Conclusion
In this article, I explained the basics of working with 3D graphics in a React application using BabylonJS.
In the examples, we created a 3d scene, added an object to it, learned how to manipulate it, and added interactivity in the form of the onPointerDown event and animation loop.